I had to eyeball lining up the bit, but I had everything marked up well and the pilot holes helped too. I went slow and double checked everything before actually drilling.
I'm going to imbed the photos in the page for this one....
Here it is layed up on the drill press just before the big plunge:
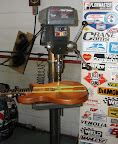
A close up:
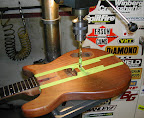
Didn't take long:
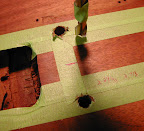
Checked the depth, A.O.K.....will check the spacing when I get home:
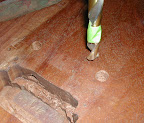
Twas a major decision to deface this poor old Corvette even further by drilling these bridge post holes...I agonized over it for a while, but in the end, I thought hotrodding it was the best thing to do:
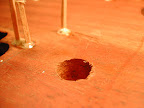
The spacing was OK, but just barely. I got the posts just a tad far apart, which actually will work to my advantage. Even though it's a Gotoh Tunomatic, it's still a tad sloppy on the posts. The fact that it drops on with a interference fit now is almost akin to having the more expensive (and less attractive) locking post version. I layed some strings on the nut and bridge (pulled taught) and the strings center on the neck exactly where I hoped they would. All in all I'm very pleased, and this will be the only operation I needed to do where I didn't have the tools or equipment I needed. It's back to all "in house" from here on out.
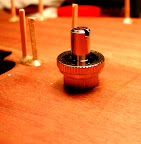
OK, so I wanted to play more than work last night. After whittling on some mahogany (man that block I have is hard stuff!), I decided it would be OK to forget the idea of plugging all the screw holes with finely crafted rods of hand carved mahogany...it would have taken weeks! So, out come the toothpicks and Gorilla glue...all these will be hidden by the pickguard and pickup ring anyway....
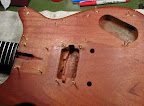
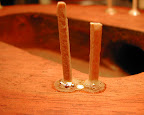
One last thing I did was to determine the exact position (ceneter to center mostly) of the Gretsch pickup ring and mark and drill pilot holes so I would know it's location after all the finishing is done.
The Gorilla glue cured over night and I used a razor blade to shave off the glue overflow and excess toothpick before I came into work this morning. I also block sanded each one flush with a tiny little sanding block I made. So, it's now ready for a full sanding and then I can start applying the tung oil. Definite progress is being made here! I also got the shipping notice for the headtsock stencils last night...so they'll be here in good time.
No comments:
Post a Comment